
Don’t let yourself get overwhelmed with to-do lists. This year find ways to enjoy yourself and get rid of the stress that’s keeping you up at night with our quick tips! Reducing holiday stress is the key to enjoying the holidays – so what are you waiting for? We have some great ideas!
Plan Ahead and Prioritize
Sit down with your family and come up with a list of ideas on how you would like to spend the holidays. Decide which ideas would be the most stressful in terms of cost, time, and energy and cross them off your list.
Choose the things that you enjoy and can accomplish realistically. Prioritize the events that matter most to you and your family, and set a budget.
Clarify Your Values
Reflect on the way you spend the holidays. What is most important to you—spending more money on your loved ones or spending more time with them? Do you believe the idea that “love-equals-money”? Are you driven by perfectionism and competitive gift? Do you take the time to experience joy and the true meaning of the season? What other ways could you show your love? Do you enjoy shopping or is it a hassle each year? Is gift giving really meaningful or do you end up with lots of clutter and gifts that you do not really need? What, if anything, would you like to change about how you celebrate the holidays? Answering these and other questions can help to clarify your values for the holiday season, and result in a much more relaxed and meaningful time.
Simplify Your To-Do List
Here are some tips to simplify your holiday challenges:
- Consider doing a Secret Santa or white elephant gift exchange instead of shopping for everyone in your family or friend groups.
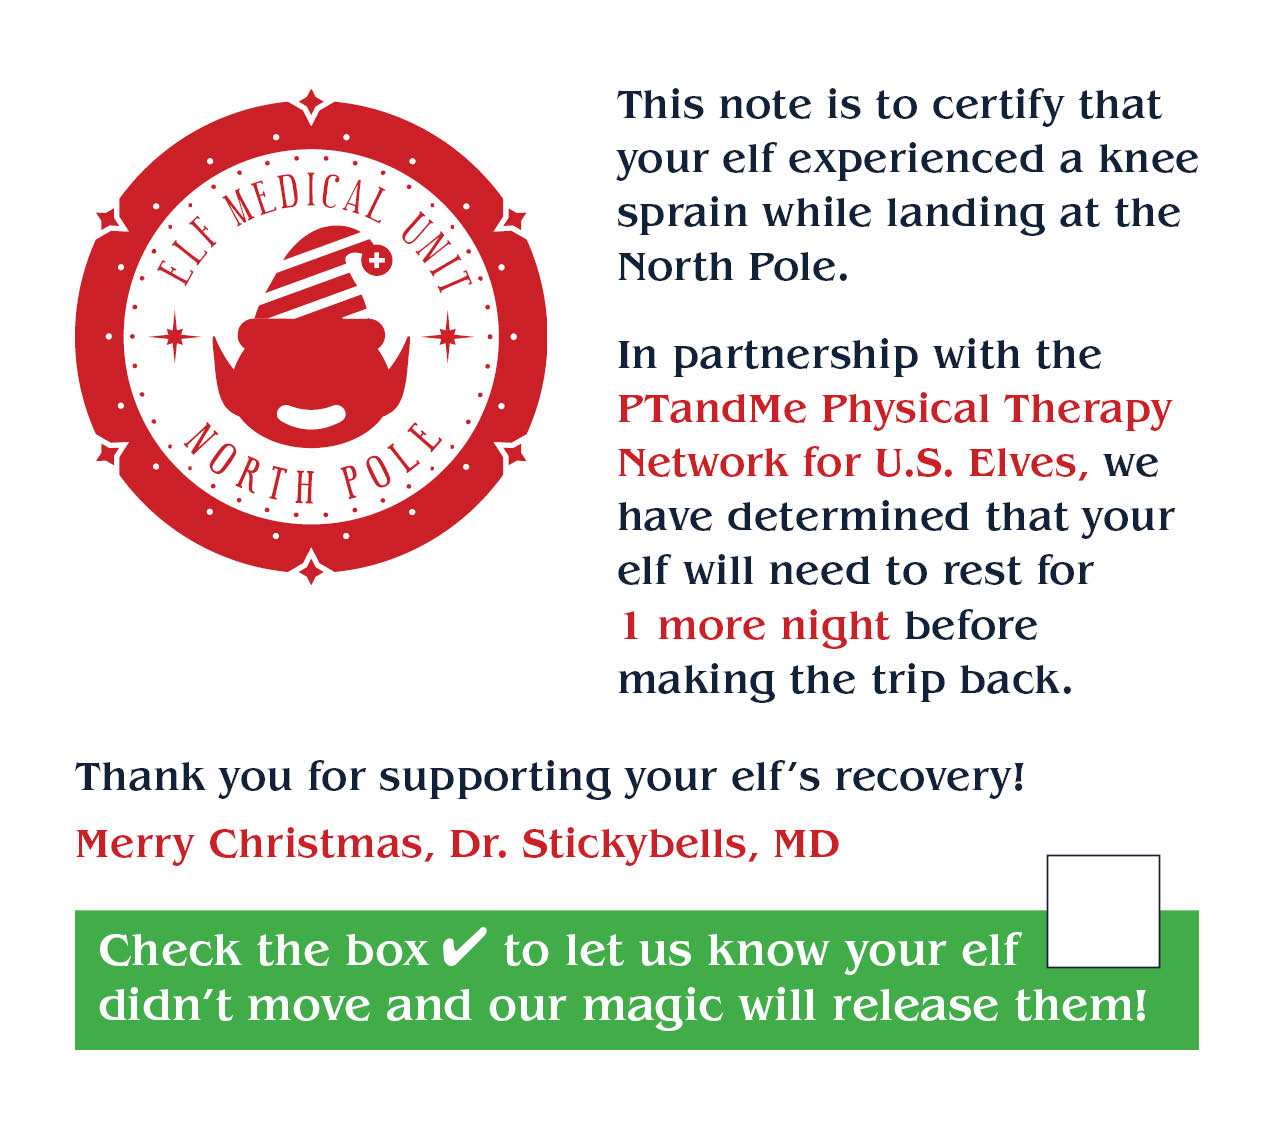
- Print our Elf Injury Medical Release Note and give yourself a night off.
- There is no shame in ordering online – or not taking your kids in the store. Take advantage of curbside pick-ups and deliveries.
- Don’t feel obligated to contribute to every single Sign-up Genius that comes your way
- Are you already going out? Consider adding an errand or two before or after to cut down on the times you leave the home
- Delegate – It’s okay to not be in charge of all of the tasks in your home.
Take Care of Your Health
Here are some suggestions:
- If you are experiencing physical pain or weakness, ask for help. This could be causing your body more stress than you realize.
- Get plenty of sleep each night.
- Exercise regularly.
- Don’t go off the deep end with holiday cookies or snacks. It’s okay to have fun, but try to keep it in moderate amounts.
- Limit alcohol intake. Alcohol depresses the nervous system and can cause fatigue and sleep disturbances.
- Take time to unwind. Take a hot bath or find a quiet place to enjoy some time alone each day. Even a few minutes can make a difference.
- Stick to your healthy routine as much as possible.
Don’t Forget the Joy
Try to celebrate the holidays in new and creative ways. Remember that you are not a “human doing” but a human being! Enjoy the uniqueness of each special person in your life and enjoy the time you can spend just being together. Seek out the simple joys of the holiday season with your friends and family. Taking a walk around the neighborhood to look at holiday decorations, singing carols, playing games, or just talking are easy and healthy ways to positively experience the holidays.
Adjust Your Expectations
We get a lot of messages about how things should be at the holidays. We have been programmed to believe that the holidays are a time of great joy, love, and togetherness. The truth is that many people may be having a hard time during the holidays, whether they are grieving the loss of a loved one, having financial problems, or experiencing difficulty with their family relationships. Sadness is common during this time of year, which is often referred to as “holiday blues.”
One way to reduce stress and the “holiday blues” is to keep your expectations realistic. Things will likely not be perfect, no matter how hard you try. There may be disappointments, arguments, and frustrations, in addition to excitement and joy. Try to go with the flow, allowing for inevitable delays and setbacks. Do not have the expectation of perfection from yourself, as well as from others around you.
If you are grieving a loss or feeling sad and lonely, accept these feelings. Do not feel guilty about your sadness or try to force yourself to be happy just because it is the holiday season. If this is a difficult time for you, adopt a nurturing attitude toward yourself. Do not be afraid to seek support from family, friends, or a counselor. If the holidays are a lonely time for you, find ways to increase your social support or consider volunteering your services to those in need. Helping others in need is a wonderful way to celebrate the message of the holiday season, as well as an excellent way to help you feel better.
RESOURCES:
The American Institute of Stress
http://www.stress.org/
American Psychological Association
http://www.psych.org/
How to Live with Anxiety
https://www.buzzrx.com/blog/how-to-live-with-anxiety


 It’s that time of year again! Most of us find ourselves offering to host or pitch in during our holiday celebrations. We’ve decided to offer up some recipes that we enjoy, and hopefully you will too.


