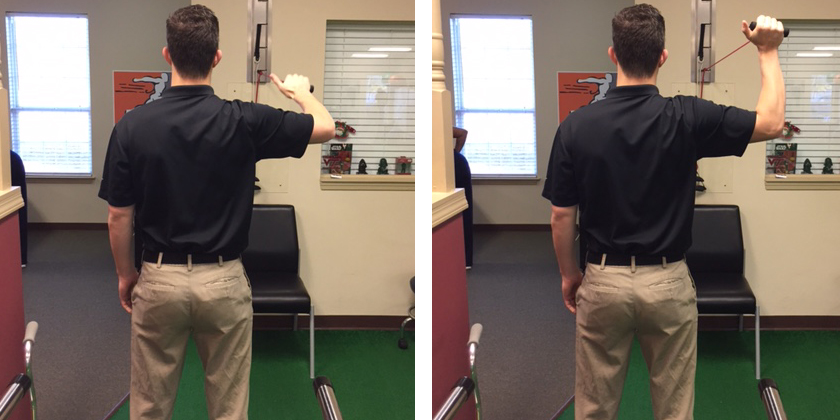
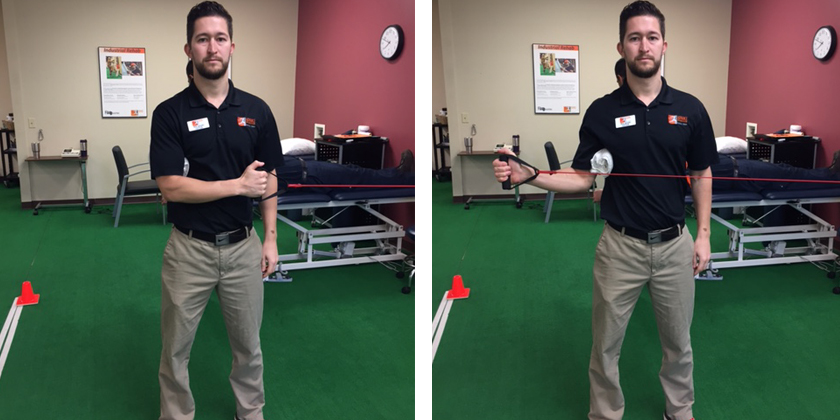
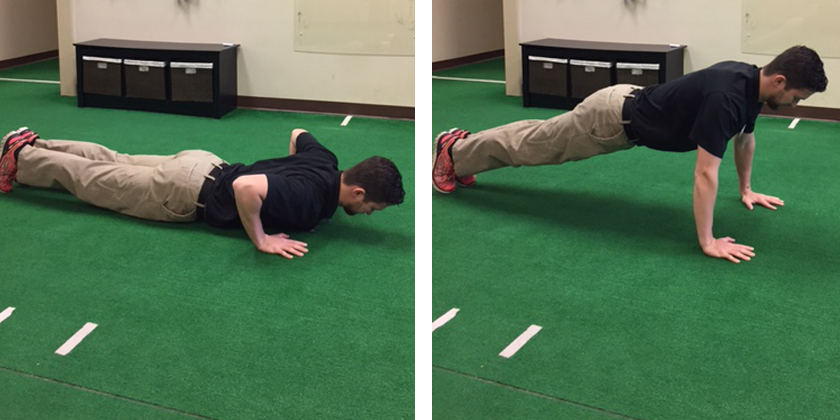
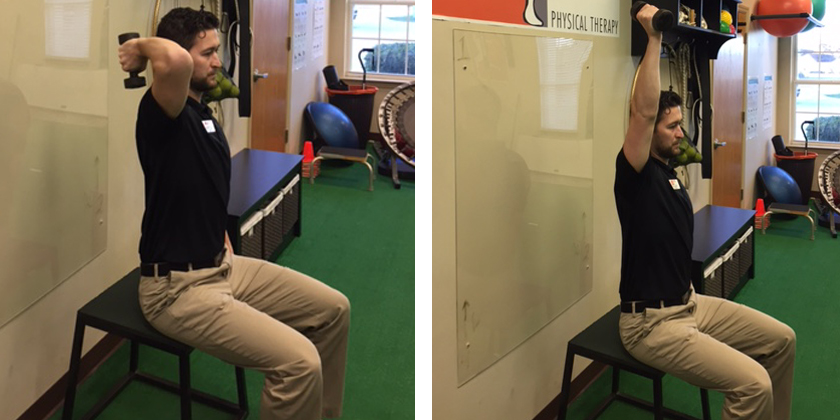
Category Archives: Shoulder

Prevent Throwing Injuries

Guidelines to Prevent Throwing Injuries

In our second installment of “Guidelines to Prevent Throwing Injuries” we examine the proper ways to exercise and prevent throwing injuries in baseball. If you have any sudden significant increase in pain, swelling, or discoloration while performing or following exercise, discontinue immediately and contact your primary care provider.


SHOULDER ABDUCTION
Begin with your arms at your side with your palms facing forward. Raise your arm straight out to the side until they are straight overhead.


SHOULDER SCAPTION
Begin with your arms at your side. Raise your arms at a 45 degree angle creating a V shape with your arms until they are overhead.


D2 EXTENSION
Secure band to wall or top of the doorway. Pull diagonally down across your body toward your opposite hip. Make sure to keep the elbow straight. Return to the starting position with a straight elbow and repeat.


D2 FLEXION
Secure band to bottom of the doorway. Pull diagonally up across your body away from your body. Make sure to keep the elbow straight. Return to the starting position with a straight elbow and repeat.

This information was written by Advance Rehabilitation Physical Therapy, an outpatient physical therapy group with 24 locations in Georgia and Florida. Advance Rehabilitation is a physical therapy practice that focuses on providing the highest quality rehabilitation services. We specialize in physical therapy, sports medicine, industrial rehabilitation and athletic training. Our staff includes highly-trained professionals that serve as a bridge between injury and recovery to help patients get back to pre-injury status as quickly as possible. For more information click here.

See the entire Guidelines to Prevent Throwing Injuries series here:

   Prevent Throwing Injuries

   prevent throwing injuries

throwing injuries PTandMe


Throwing Injuries

Guidelines to Prevent Throwing Injuries

In this monthly series, we examine the proper ways to exercise and prevent throwing injuries in baseball. If you have any sudden significant increase in pain, swelling, or discoloration while performing or following exercise, discontinue immediately and contact your primary care provider.


PUSH UPS
Start on your stomach with your hands below your shoulders. Maintain a straight line from your ankles, through your hips, to the shoulders. Extend your elbows pushing your stomach away from the floor.


BICEP CURL
Begin seated with your elbow extended and palm facing forward. Bend the elbow as far up as you can without flexing your shoulder or rotating your wrist.


TRICEP DIP
Find two even surfaces to support your upper body with your elbows bent (a chair with arm rests works well). Extend your elbows pushing your body up toward the ceiling. Lower slowly.


OVERHEAD TRICEP EXTENSION
With your shoulder in full flexion overhead, hold a weight in your hand with your elbow bent behind your head. Straighten your elbow toward the ceiling without changing the angle of your shoulder.

This information was written by Advance Rehabilitation Physical Therapy, an outpatient physical therapy group with 24 locations in Georgia and Florida. Advance Rehabilitation is a physical therapy practice that focuses on providing the highest quality rehabilitation services. We specialize in physical therapy, sports medicine, industrial rehabilitation and athletic training. Our staff includes highly-trained professionals that serve as a bridge between injury and recovery to help patients get back to pre-injury status as quickly as possible. For more information click here.

See the entire Guidelines to Prevent Throwing Injuries series here:

   Prevent Throwing Injuries

   prevent throwing injuries

throwing injuries PTandMe

shoulder surgery

Self Care: Safe Dressing Following Shoulder Surgery / Injury

SafeDressingShoulderSurgery_FBsize

When recovering from shoulder surgery, it can be difficult to dress and undress without assistance. With the help of one of our trusted Certified Hand Therapists (CHT) they have compiled a list of tips to get dressed safely and independently while recovering.  It is highly recommended that you follow the instructions prescribed by your surgeon or attending physician.

DRESSING

Upper Body
• Bend forward at your hips and let your affected arm dangle loosely forward
• Always dress the affected arm through the sleeve of your shirt first
• Proceed to dress the unaffected arm

Lower Body
• One handed techniques to don socks: touch all fingers to your thumb, then slide the sock over your hand. Spread your fingers apart to open the sock and slide it onto the foot

Bra
• Clip the bra from the front and as low as possible to your waist. Guide the bra enclosure towards your back. Slide the strap over the affected arm and then slide

shoulder_3D

GROOMING

• Bend forward at the hips and dangle arm in order to clean and apply deodorant

These post shoulder surgery dressing tips were provided by The Hale Hand Center, with locations in Melbourne and Rockledge, FL. The Hale Hand Center offers both physical therapy and certified hand therapy services, as well as provides custom splinting. More information about The Hale Hand Center can be found on their website here.

dry needling physical therapist

Trigger Point Dry Needling

Trigger Point dry needling_FBsize

Dry needling uses small, thin needles to stimulate underlying myofascial trigger points, muscular and connective tissues for the management of many orthopedic conditions, both acute and chronic. By inserting a needle into the dysfunctional tissue, it often leads to a contraction of the muscle which then stimulates a relaxation. This leads to a reduction of pain, improvements in flexibility and a restoration of normalized movement when combined with corrective exercises.

WHAT IS A MYOFASCIAL TRIGGER POINT?
A myofascial trigger point is a hyperirritable spot within a taut band of skeletal muscle that produces local or referred pain. The trigger point can lead to increased pain, decreased flexibility and decreased muscle function if not treated. Trigger point dry needling is a safe, effective and efficient treatment technique to release these painful spots.

dry needling

WHAT TYPE OF PROBLEMS CAN BE TREATED?
Muscle dysfunction can be the primary or secondary contributing factor to many neuromusculoskeletal conditions.

WHAT YOU NEED TO KNOW:
• Dry needling must be specifically prescribed by a physician.
• Dry needling is not covered by insurance, it is a cash based modality.

This information was written by The Jackson Clinics, a locally owned physical therapy practice in multiple locations throughout Northern Virginia. They specialize in outpatient orthopedics and sports rehabilitation. Their therapists and assistants possess advanced clinical skills in spinal disorders, sacroiliac joint dysfunction and peripheral joint problems, including rotator cuff injuries, knee injuries and foot and ankle pain. They also also have specialty programs in breast cancer rehab, vestibular rehab, pediatrics, post-cancer rehab, aquatic therapy and women’s health. For more information click here.

avoid pitching injuries

Physical Therapist Tips on Avoiding Injury to Your Throwing Arm & What to Do in Case You Do

PTTipsOnThrowing_FBsize

Throwing a baseball or softball is one of the most demanding motions on the human body in sports. For each throw, the athlete generates high levels of energy in the arm and body to accelerate the baseball and softball to a high velocity. Just as it is important to understand proper biomechanics to improve performance, it is important to understand the stresses placed on the throwing shoulder and elbow by the throwing process.

Physical Therapist Tips on how to avoid pitching injuries

• Teach young athletes to be mindful of how their bodies feel. Pain is the first sign of a problem, and athletes of all ages need to pay close attention to any type of muscle twinge, tightening, or burning sensation.

• Coaches should carefully observe their pitchers’ techniques. Success on the field may be fleeting if the pitches ultimately are damaging a young player’s shoulder.

• Conditioning and strengthening exercises are most effective after mechanics are learned and put into action. If possible, begin a conditioning program at least a month before the season begins. A basic stretching regimen should be used before a player ever picks up a baseball.

• Players should start with short tosses and gradually work up to throwing the ball a greater distance. Increasing the velocity should be the final step.

• If the arm region is sore or tight, apply ice to the area for 10-15 minutes to help diminish the amount of blood that might otherwise leak into the muscle. When there is microscopic tearing of the muscle tissue, blood is leaking into the surrounding muscular tissue, causing pain and muscle spasms. Using ice will help reduce the pain, spasms, and inflammation associated with this condition.

• Before age 10, only fast ball and change-up should be permitted.

This information about how to avoid pitching injuries was written by University Physical Therapy, an outpatient physical therapy group with eight locations in New River Valley, Virginia. University PT is THE choice for outstanding sports rehabilitation, physical therapy and occupational therapy services. For more information click here.

Frozen Shoulder

Frozen Shoulder: How Physical Therapy Can Help

FrozenShoulder_FBsize

Physical therapy can help patients experiencing frozen shoulder regain movement faster. If your initial pain doesn’t go away with usual pain relievers, it’s probably time to check with a physical therapist. That’s because it can take up to TWO YEARS to go away on it’s own! This is definitely not something to be ignored.

Adhesive capsulitis is more commonly known as frozen shoulder, and with good reason: It can render your shoulder so stiff, it’s almost impossible to button your shirt — that is, if you aren’t in too much pain to get dressed in the first place.

Where does this injury Come From?
In general it comes on after an injury to your shoulder or a bout with another musculo-skeletal condition such as tendinitis or bursitis. Quite often its cause can’t be pinpointed. Nonetheless, any condition that causes you to refrain from moving your arm and using your shoulder joint can put you at risk for developing this injury.
It affects 10-20 percent of people with diabetes according to the American Academy of Orthopedic Surgeons. Women are more likely to develop this injury than men and it occurs most frequently in people between the ages of 40 and 60.

Where does the diabetes come in?
Well, doctors still aren’t exactly sure. But they believe that excess glucose impacts the collagen in the shoulder. Collagen is a major building block in the ligaments that hold the bones together in a joint. When sugar molecules attach to the collagen, it can make the collagen sticky. The buildup then causes the affected shoulder to stiffen, and the pain prevents you from moving your arm. Ouch!

This injury has Three Stages:
FREEZING
Pain slowly becomes worse until range of motion is lost.
(Lasts 6 weeks to 9 months)

FROZEN
Pain improves, but the shoulder is still stiff.
(Lasts 4 to 6 months)

THAWING
Ability to move the shoulder improves until normal or close to normal.
(Lasts 6 months to 2 years)

Physical therapy is often very effective in treating frozen shoulder. If your initial pain doesn’t go away with the usual pain relievers, it’s probably time to check with a doctor. That’s because it can take up to two years to go away on its own! This is definitely not something to be ignored.

shoulder

TREATMENT
Treatment focuses on controlling pain and getting movement back to normal through physical therapy. Sometimes surgery is also considered. Talk to your doctor about treatment options that are right for you.

PREVENTION
Because doctors don’t really understand the causes, it can be difficult to prevent them in most cases. Keeping your blood sugars under control is always key to avoiding all complications. Doctors have also found that people who’ve suffered an injury to their shoulder or stroke are also at an increased risk, because of the immobility the other condition has caused. If you have diabetes and have had a shoulder injury, talk to your doctor or a physical therapist about what kind of exercises you can do to make sure this doesn’t happen to you.

Written by the Therapy Team at Advanced Physical Therapy