
This time in PT News we recap what our clinics have been posting throughout November 2024. We are excited to bring you current physical therapy-based posts featuring published articles from PTandMe partnering clinics!
![]()
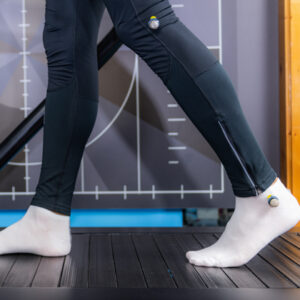
1. Helix 3D for Running Gait Analysis in Physical Therapy
Written by Green Oaks Physical Therapy, with locations throughout Dallas, Fort Worth.
When it comes to physical therapy, understanding a patient’s movement is crucial for crafting effective treatment plans. Advances in technology have brought sophisticated tools to the table, with Helix 3D being at the forefront for running gait analysis. This cutting-edge tool has revolutionized the way clinicians understand biomechanics, helping both athletes and everyday individuals get back on their feet and perform at their best. What is Helix 3D? Helix 3D is a highly advanced motion analysis system designed to provide a comprehensive, three-dimensional view of human movement… Read more

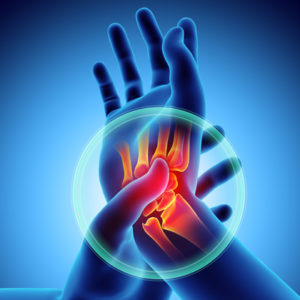
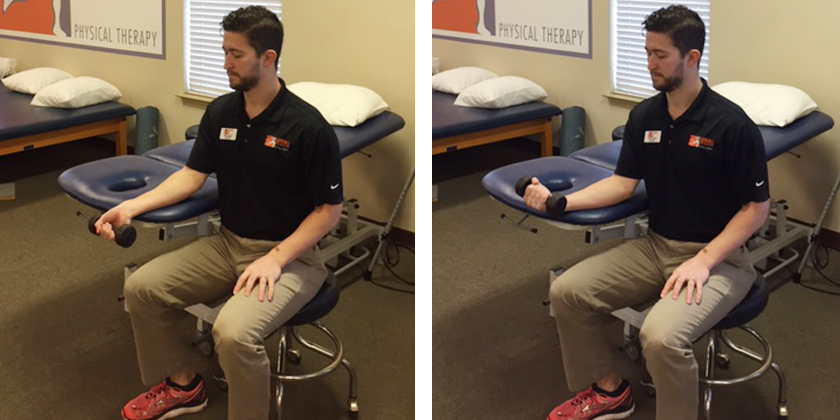
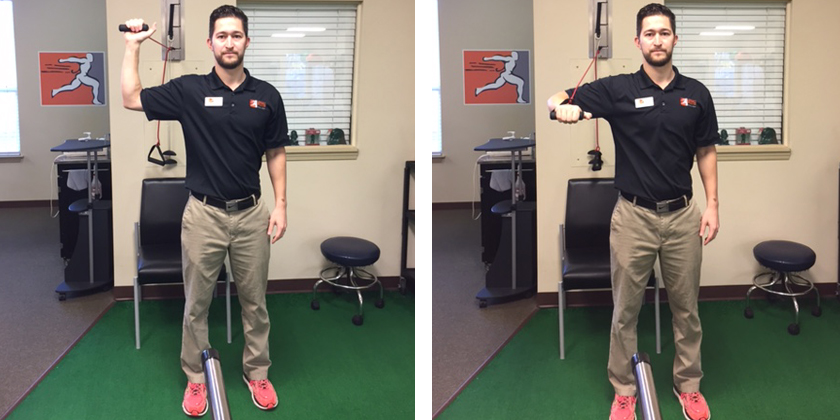
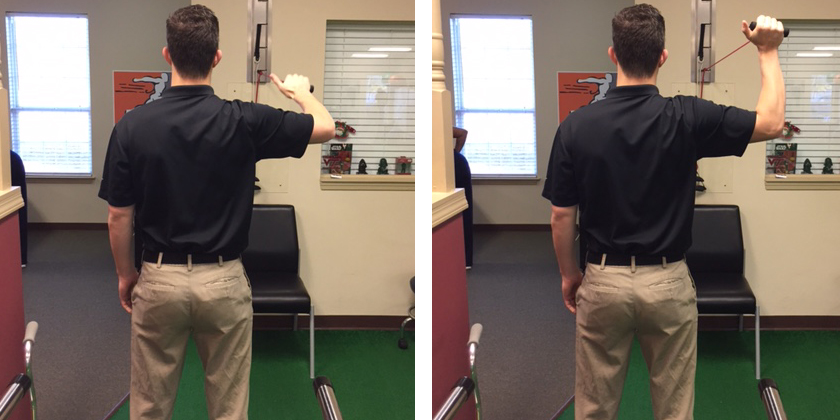
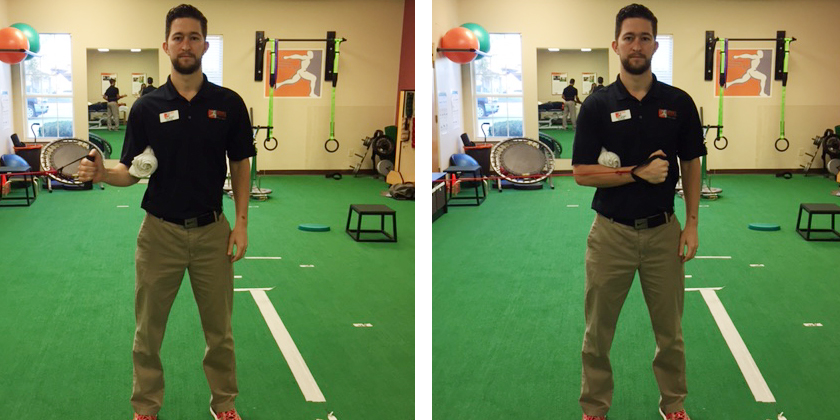
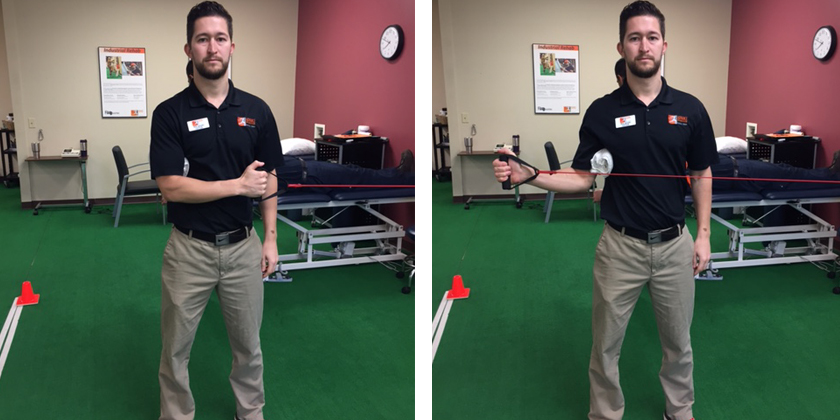
2. 5 Effective Exercises for Tennis Elbow
Written by Ability Rehabilitation, an outpatient physical therapy practice throughout Central, FL.
Repetitive activities like playing racket sports or engaging in certain occupations like painting, carpentry, and plumbing often exacerbate this condition. The symptoms of tennis elbow include pain and a burning sensation on the outer side of the elbow, along with weakened grip strength. These symptoms can develop gradually and may worsen over several weeks or months. The good news is that over 95% of tennis elbow cases can be successfully treated with conservative measures. If you’re looking for effective exercises to alleviate tennis elbow symptoms and regain strength in your elbow, Ability Rehabilitation can offer you five exercises specifically designed to target tennis elbow… Read more
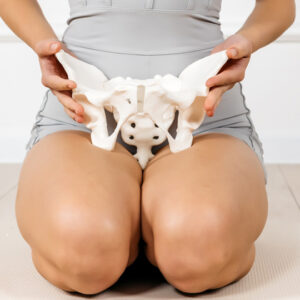
3. Understanding Incontinence: Causes, Types, and Treatments
Written by Sol Physical Therapy an outpatient physical therapy group located throughout Tucson, AZ
Many people with incontinence may feel isolated and avoid social situations. They often find themselves constantly monitoring fluid intake and planning outings around restroom availability. Simple tasks like traveling, attending events, or exercising may require careful consideration and planning… Read more
We hope you enjoyed our picks for the PT News November 2024 edition.
Find these locations and others to start feeling better today!
![]()