Tag Archives: strengthening

PT News

This Month in PT News. Featuring articles from PTandMe partnering clinics!


2. Coping with a Mysterious Pain Syndrome
Written by the Therapy Team at the Jackson Clinics – Middleburg, VA

As its name suggests, complex regional pain syndrome (CRPS) is a complicated and painful condition. Approximately 80,000 Americans are diagnosed with CRPS each year, usually in the arm, hand, leg or foot. Read more

3. Is Something Better than Nothing? 
Written by Erin Clason at the Center for Physical Rehabilitation – Grand Rapids, MI

When it comes to strength training, the answer is a resounding “Yes!” Most of us are aware of the benefits of strength training in areas like everyday physical function, bone rebuilding, self-confidence, fat reduction, and elevated metabolism. Read more

at the gym

At the Gym: Exercising Do’s and Dont’s

AtTheGym#2_FBsize

In the second installment of our “At The Gym” exercise series we examine the proper ways to exercise at the gym from start to finish. If you have any sudden significant increase in pain, swelling, or discoloration while performing or following exercise, discontinue immediately and contact your therapist at your next therapy session.

Plus Push Up 1

PLUS PUSH-UP

START POSITION
• Get on elbows and knees.
• Knees bent
• Straight or neutral back done by drawing the stomach in and the buttocks down.

ENDING POSITION
Push elbows into mat while trying to increase the space between the shoulder blades (round out your back between the shoulders).DON’T

DON’T
• Drop the head.
• Raise the buttocks or let the low back excessively curve inward.

Plus Push Up 2

PLUS PUSH-UP: STAGE 2

START POSITION
Push-up position

ENDING POSITION
• Push hands into mat while trying to increase the space between shoulder blades.
• Rounded upper back appearance.

DON’T
• Drop the head.
• Raise the buttocks or let the low back excessively curve inward.

Scapular Depression

SCAPULAR DEPRESSION

START POSITION
• Seated with shoulder blades drawn downward (don’t shrug shoulders).
• Hands hold just outside of the curvature of the bar to comfort.
• Knees bent underneath knee pad and feet on the floor.
• Keep your back straight with a slight posterior lean from the hips.

ENDING POSITION
Bring bar to chest with elbows bent.

DON’T
• Lift feet off the ground.
• Rock at the waist.
• Elevate or let shoulders pull forward.
• Hyperextend the low back as you pull in.

Empty Can 1

EMPTY CAN

START POSITION
Standing with hands at your side and thumbs pointing downward with feet shoulder width apart.

ENDING POSITION
Arms raised to about 60⁰ with thumbs facing down and slightly to your side.

DON’T
• Swing body back and forth.
• Shrug shoulders.
• Lift above 60⁰.

Full Can
FULL CAN

START POSITION
Standing with hands in front of you with thumbs pointing upward and feet shoulder width apart.

ENDING POSITION
Arms raised to 90 – 120⁰ with thumbs facing up.

DON’T
• Swing body back and forth.
• Shrug shoulders.
• Lift above 120⁰.

This information was written by STAR Therapy Services, an outpatient physical therapy group with six locations in Houston, Texas. At Star Houston Therapy Services, their number one priority is the patient. They strive to provide individualized treatment with hands-on, compassionate care. They perform comprehensive evaluations and encourage patient input for treatment planning and goal setting. For more information click here.

View the complete Exercising Do’s and Don’ts series below:


exercising do's and dont's

what to expect from physical therapy

What to Expect from Physical Therapy

What_to_Expect_from_PT_FBsize

PHYSICAL THERAPY IS INTENDED TO MAKE CHANGES WITHIN YOUR BODY

We will accomplish this in several different ways. First, through the use of manual therapies, such as massage and mobilization of the joints. The goals of change are to:

  • Stretch short tissues to make them longer.
  • Strengthen weak tissues to make them stronger.
  • Improve and correct bad/abnormal biomechanics and asymmetries to alleviate pain and take the stress off the body.

THERE ARE SEVERAL THINGS THAT WE EXPECT DURING THE PHYSICAL THERAPY PROCESS, ESPECIALLY IN THE EARLY STAGES OF PT

  • You can expect that you will be sore after the first visit, and most likely the first 2 – 3 weeks until their body gets adapted to PT. Your body is just not used to doing the things that we are going to ask it to do, so there will be a period of adjustment.
  • The pain WILL move. As we make changes to your tissues and mechanics, the stresses on your body will change, thus altering where you will feel the pain or your symptoms.
  • The pain WILL change in terms of intensity, meaning that your pain is expected to fluctuate along the 10 point scale, starting between your high and low levels and changing based on your position, activity, and stress on the body.
  • The pain may also change in terms of the quality of pain. The pain may be: sharp, dull, achy, throbbing, burning, tingling, numbing.
  • It is important to know that all of the aforementioned statements are completely normal. There is nothing that you will experience that will surprise us. Everything that you experience will be normal. Even if what you feel is not normal to you, it is normal for your condition and what your body is experiencing.
  • Physical therapy is not an overnight miracle. Improvement takes time. It is important to understand that no one gets better every day from day one until they leave. Everyone will have good and bad days. In the beginning, you will have more bad days than good. As time progresses, this ratio should flip-flop and you should be having more good days than bad.

If you are looking for a physical therapist, we have you covered with over 500 locations nationwide!

physical therapy near me


This article was written by Life Fitness Physical Therapy, an outpatient physical therapy group with fourteen locations in the surrounding Baltimore, Maryland area. Life Fitness Physical Therapy is focused on improving the quality of life for their patients. They strive to provide individualized, evidence-based care that meets every patient’s unique needs. Their objective for each patient is to restore their function, achieve their goals and have them resume an active lifestyle as quickly as possible. For more information click here.

exercise at the gym

At the Gym: Exercising Do’s and Don’ts

AtTheGym#1_FBsize

In this new monthly series we examine the proper ways to exercise at the gym from start to finish. If you have any sudden significant increase in pain, swelling, or discoloration while performing or following exercise, discontinue immediately and contact your therapist at your next therapy session.

Scapular Strengthening

SCAPULAR STRENGTHENING

START POSITION
• Lay face down on the edge of the bench with arm hanging downward
• Rolled towel under forehead for support

ENDING POSITION
Arm raised straight to your side no higher than the torso with palms facing down

DON’T
• Arch your back when lifting dumbbell
• Lay with face turned sideways
• Raise the dumbbell too high

External Rotation Side Lying

EXTERNAL ROTATION – SIDE LYING

START POSITION
• Side lying with elbow at 90⁰ bend
• Support the head and rolled towel under arm holding dumbbell

ENDING POSITION
Side lying with external rotation at the shoulder until you feel an anatomical stop at the shoulder (about 45⁰); keep elbow bent

DON’T
• Create rotation at the torso
• Don’t raise the arm from the towel

External Rotation Prone

EXTERNAL ROTATION – PRONE

START POSITION
• Lay face down with head facing to the side
• Forearm hanging off table with elbow bent to 90⁰
• Bicep is on the bench and supported by a towel

ENDING POSITION
About 45⁰ of external rotation

DON’T
• Externally rotate past 45⁰
• Raise arm from the towel

D2 Flexion

D2 FLEXION

START POSITION
• Standing with feet shoulder width apart
• Hold handle with arm crossing body to opposite side
• Palm facing body.

ENDING POSITION
• Arm raised slightly above the shoulder (about 120⁰ which is slightly higher than shown) with thumb facing upward
• Creating a “disco” motion

DON’T
• Let thumb face sideways or downward at end of exercise
• Lean backwards or sideways to assist in exercise
• Shrug shoulders

This information about how to exercise at the gym was written by STAR Therapy Services, an outpatient physical therapy group with six locations in Houston, Texas. At Star Houston Therapy Services, their number one priority is the patient. They strive to provide individualized treatment with hands-on, compassionate care. They perform comprehensive evaluations and encourage patient input for treatment planning and goal setting. For more information click here.

View the complete Exercising Do’s and Don’ts series below:


exercising do's and dont's

Protect, Stretch & Rest: General Tips

ProtectStretchRest_FBsize

These are some general healthy tips to remember during your day-to-day activities.

• If you are doing strenuous, household or outdoor work protect your hands with gloves in order to prevent injury and/or loss of moisture.
• Take frequent breaks or switch to a new activity. Overuse of repetitive motions, such as pressing buttons, can cause tendonitis of the elbow or lead to Carpal Tunnel Syndrome.
• If you find yourself sitting at your computer for hours each day, stop each hour and stretch your fingers, arms and the rest of your body to help prevent injury to your bones, joints and muscles.
• If you have pain during your activity, stop. Pain is one of the ways your body is letting you know that you are overextending a particular muscle group.

bone health

Exercise and Bone Health

ExerciseBoneHealth_FBsize

Bone is living tissue that is constantly undergoing a process called remodeling. In remodeling, cells called osteoclasts are breaking down old bone, as cells called osteoblasts are replacing it with new tissue. Many factors can affect the remodeling process and leave you with bones that are less dense and more fragile.

Some factors that interfere with bone health and remodeling are:
• Increased age
• Low vitamin D—The body makes vitamin D in response to sunlight. You can also get vitamin D by eating certain kinds of food or by taking a supplement.
• A diet low in calcium
• Smoking
• Lack of exercise—especially weight bearing and resistance exercise

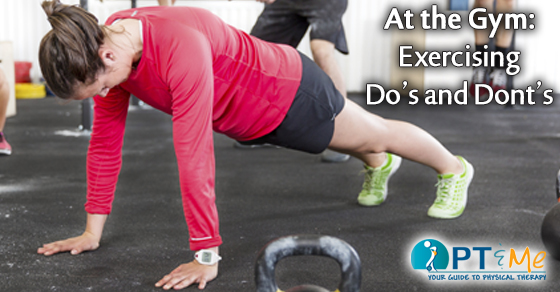
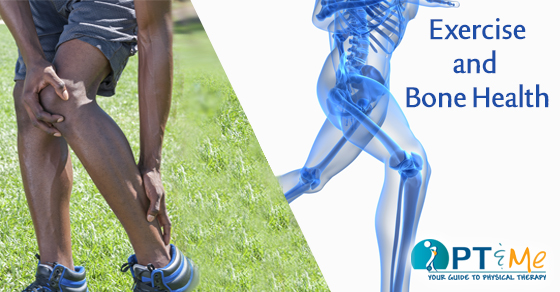
Why Exercise Is Good for Bone Health
Regular weight-bearing and resistance exercise helps build muscle, as well as maintain and increase bone strength. Exercise causes the muscle to contract against the bone. This action stresses or stimulates the bone, and the bone becomes stronger and denser. The 3 main types of exercise are (some activities can be more than 1 type):

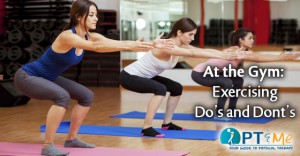
Aerobic (Cardiovascular) Exercises to Improve Bone Health
In aerobic exercise, you continually move large muscles in the legs, shoulders, and buttocks. This action causes you to breathe more deeply, and your heart to work harder pumping blood, thereby strengthening your heart and lungs. Examples include:
• Walking
• Jogging
• Running
• Aerobic dance
• Bicycling
• Swimming

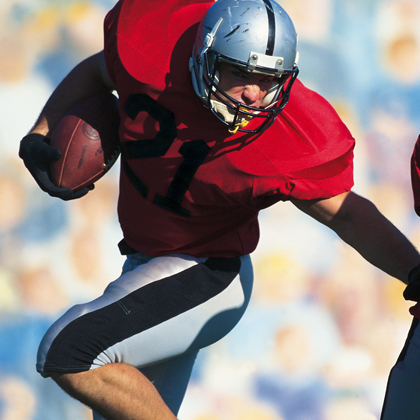
Weight-Bearing Exercises to Improve Bone Health
In weight-bearing exercises, your bones and muscles work against gravity, and your feet and legs bear the weight. Your bones adapt to the weight and pull of the muscle during weight-bearing exercise. Examples of weight-bearing exercises include:
• Jogging
• Walking
• Stair climbing
• Dancing
• Soccer

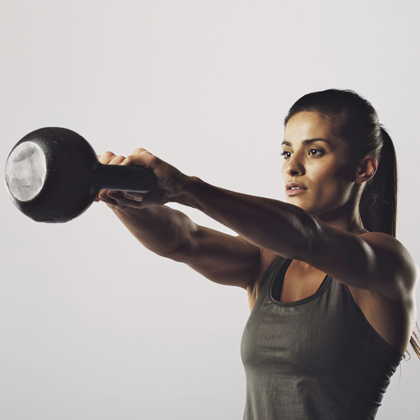
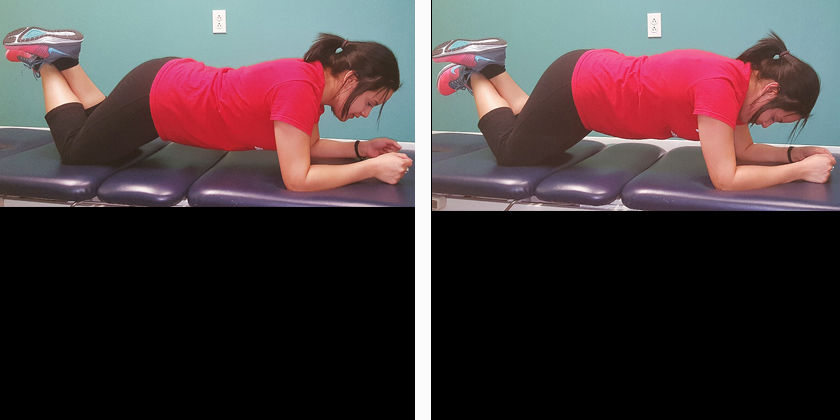
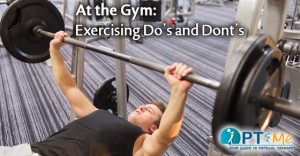
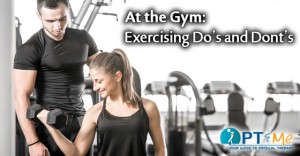
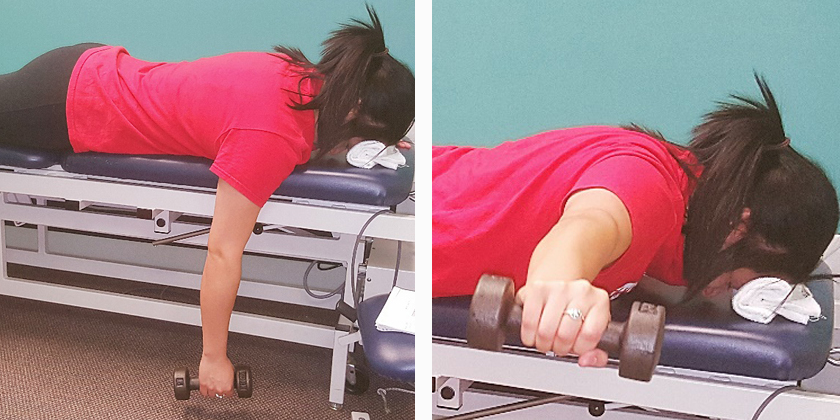
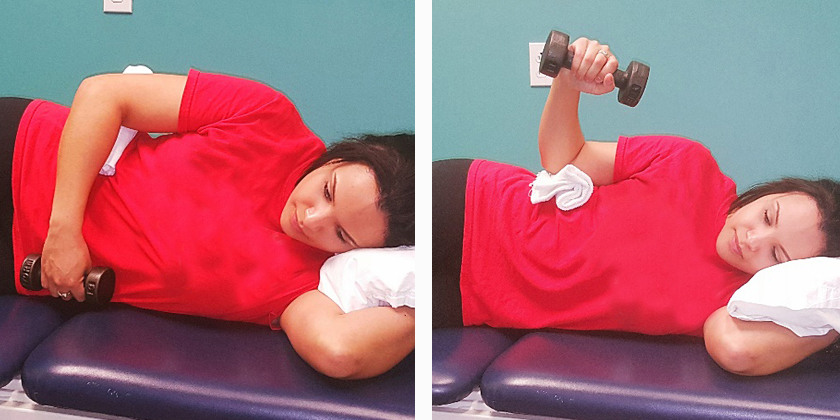
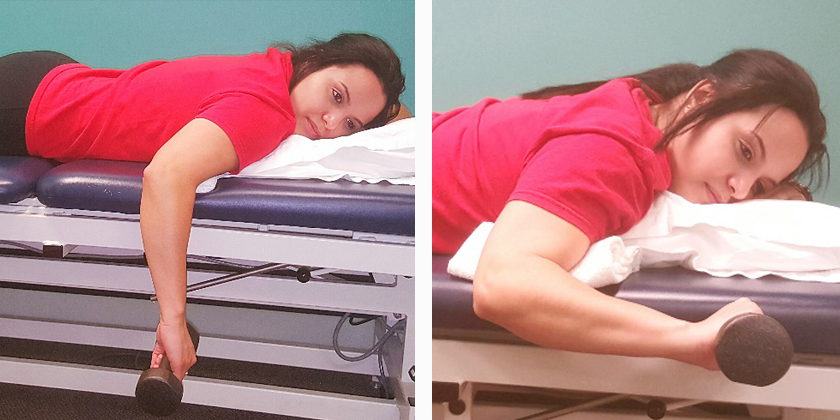
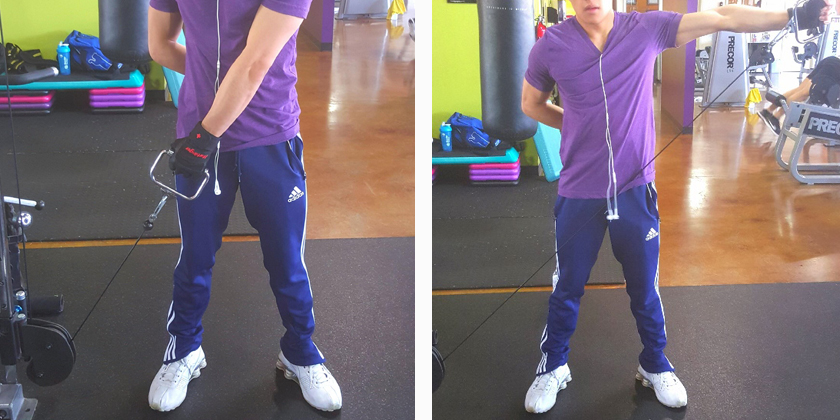
Resistance Exercises to Improve Bone Health (Strength Training)
Resistance exercises use muscle strength to improve muscle mass and strengthen bone. Examples include:
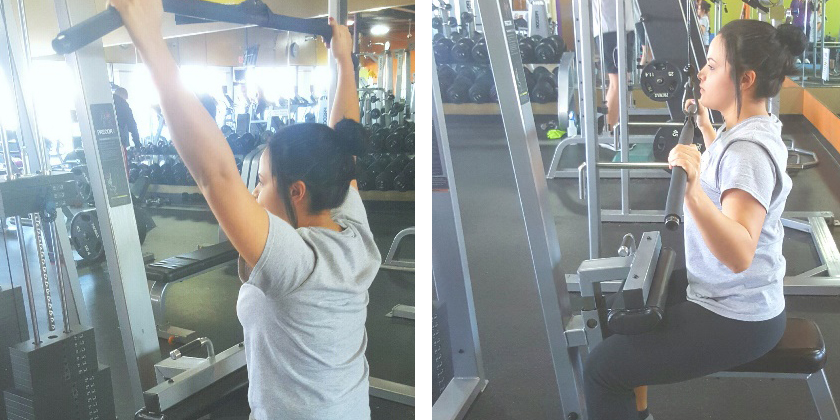
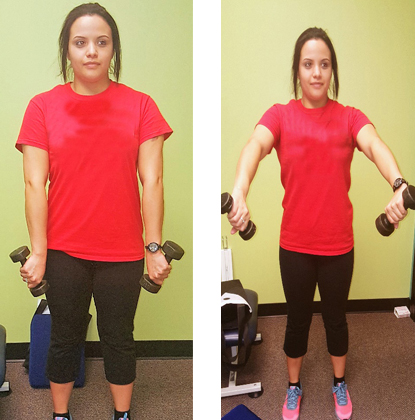
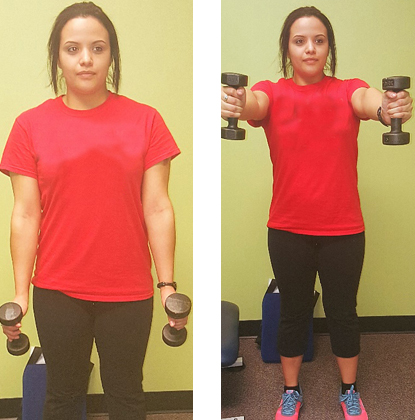
• Weight lifting, using:
• Free weights
• Weight machines
• Elastic tubing

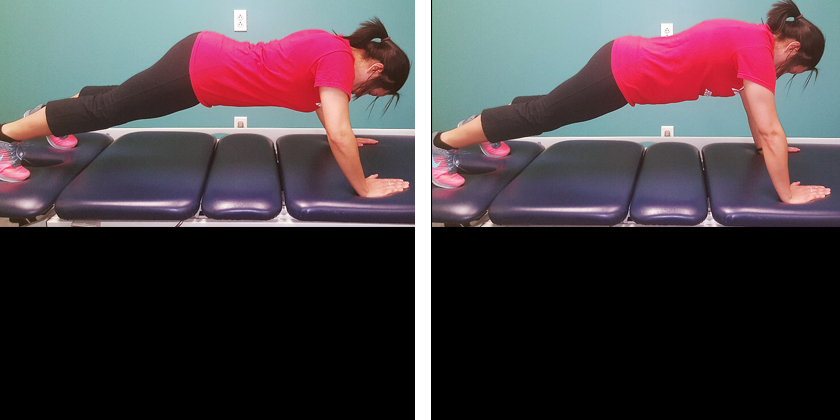
• Calisthenics such as push-ups and chin-ups

tennis guy

Tips for Beginning:
Aerobic or Weight-bearing Exercises to Improve Bone Health
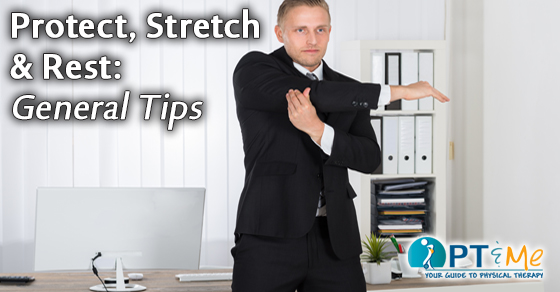
• Warm up for 5 minutes before activity. This can consist of dynamic stretches that involve movement and a light walk.
• Start the activity slowly for the first 5 minutes.
• Slowly increase your intensity so that your heart rate increases. A person doing moderate-intensity aerobic activity can talk. A person doing vigorous-intensity activity cannot say more than a few words without stopping to take a breath.
• Gradually increase your workout until you are working out at least 150 minutes a week at moderate–intensity or 75 minutes a week at vigorous intensity.

Resistance Exercises to Improve Bone Health
• Begin each exercise with light weights and minimal repetitions.
• Slowly (over weeks) increase weight, never adding more than 10% in a given workout.
• Do these exercises 2-3 times a week. Allow for 1 day between each workout for your bones and muscles to rest and repair themselves.
• Gradually increase the number of repetitions to 2-3 sets of 8-10 repetitions with a rest period of 30-60 seconds between sets.
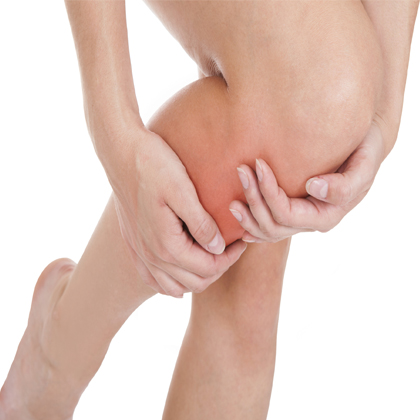
• Although stiffness the day after exercise is normal, if you are in pain, you did too much. Decrease the intensity or the duration of your exercise.

Before starting any type of exercise program, check with your doctor about any possible medical problems you may have that could limit your ability to exercise.

by Mary Calvagna, MS

RESOURCES:
National Osteoporosis Foundation
http://www.nof.org

The President’s Council on Physical Fitness, Sports, and Nutrition
http://www.fitness.gov

CANADIAN RESOURCES:
Canadian Orthopaedic Foundation
http://www.canorth.org

Public Health Agency of Canada
http://www.phac-aspc.gc.ca

REFERENCES:
2008 Physical Activity Guidelines for Americans. US Department of Health and Human Services website. Available at: http://www.health.gov/paguidelines/guidelines/default.aspx#toc. Published October 2008. Accessed January 21, 2016.

Bone remodeling. University of Washington website. Available at: http://courses.washington.edu/bonephys/physremod.html. Updated March 30, 2007. Accessed January 21, 2016.

How much physical activity do adults need? Centers for Disease Control and Prevention website. Available at: http://www.cdc.gov/physicalactivity/everyone/guidelines/adults.html. Updated June 4, 2015. Accessed January 21, 2016.

Osteoporosis. EBSCO DynaMed website. Available at: http://www.ebscohost.com/dynamed. Updated October 13, 2015. Accessed January 21, 2016.

Skeleton keys. Smithsonian Museum of Natural History website. Available at: http://anthropology.si.edu/writteninbone/young_old.html. Accessed January 21, 2016.

Last reviewed January 2016 by Michael Woods, MD

EBSCO Information Services is fully accredited by URAC. URAC is an independent, nonprofit health care accrediting organization dedicated to promoting health care quality through accreditation, certification and commendation.

PT News

This Month in PT News. Featuring articles from PTandMe partnering clinics!

basketball

1. How Does an NBA Player Overcome Career Limiting Ankle Injury?
Written by Nick Mezyk, DPT, Clinic Director at ProCare Physical Therapy – Johnstown, PA

If you have played sports long enough, you have most likely experienced the following… You’re running down the field, court or track, and you go to make a quick cut. Except you end up crumbling to the ground because you rolled your ankle causing a popping sensation on the outside portion of that ankle. Read more


gym guy

3. Top Equipment Free Exercises You Should Be Doing 
Written by the Therapy Team at Momentum Physical Therapy – San Antonio, TX

The idea of exercising always conjures up visions of personal trainers, expensive gyms, high-end equipment, and lots of grunting, groaning, and personal torture. That’s never the case when we use the term exercise. Read more

avoid pitching injuries

Physical Therapist Tips on Avoiding Injury to Your Throwing Arm & What to Do in Case You Do

PTTipsOnThrowing_FBsize

Throwing a baseball or softball is one of the most demanding motions on the human body in sports. For each throw, the athlete generates high levels of energy in the arm and body to accelerate the baseball and softball to a high velocity. Just as it is important to understand proper biomechanics to improve performance, it is important to understand the stresses placed on the throwing shoulder and elbow by the throwing process.

Physical Therapist Tips on how to avoid pitching injuries

• Teach young athletes to be mindful of how their bodies feel. Pain is the first sign of a problem, and athletes of all ages need to pay close attention to any type of muscle twinge, tightening, or burning sensation.

• Coaches should carefully observe their pitchers’ techniques. Success on the field may be fleeting if the pitches ultimately are damaging a young player’s shoulder.

• Conditioning and strengthening exercises are most effective after mechanics are learned and put into action. If possible, begin a conditioning program at least a month before the season begins. A basic stretching regimen should be used before a player ever picks up a baseball.

• Players should start with short tosses and gradually work up to throwing the ball a greater distance. Increasing the velocity should be the final step.

• If the arm region is sore or tight, apply ice to the area for 10-15 minutes to help diminish the amount of blood that might otherwise leak into the muscle. When there is microscopic tearing of the muscle tissue, blood is leaking into the surrounding muscular tissue, causing pain and muscle spasms. Using ice will help reduce the pain, spasms, and inflammation associated with this condition.

• Before age 10, only fast ball and change-up should be permitted.

This information about how to avoid pitching injuries was written by University Physical Therapy, an outpatient physical therapy group with eight locations in New River Valley, Virginia. University PT is THE choice for outstanding sports rehabilitation, physical therapy and occupational therapy services. For more information click here.

Recovering from knee surgery

Self-Care: Safe Positions & Movement After Knee Surgery

SelfCareKneeSurgery_FBsize

ACTIVITY GUIDELINES
Recovering from knee surgery does not have to prevent you from moving or taking care of yourself. Listed below are guidelines on how to do some common movements and activities without hindering the healing process.

SLEEP & POSITIONING
• It is very important that when recovering from knee surgery you get enough rest following your surgery. If you cannot get comfortable in your bed, please talk to your therapist.
• Sleep on a bed with a firm mattress. Ideally, the bed should come up to your mid-thigh while you stand.
• Sleep flat on your back and position your leg so your toes and kneecaps point at the ceiling.
• Do not place pillows under your operative leg. If you wish to elevate your leg, support the whole leg with pillows while keeping the knee straight.

Sitting Up In Bed:
• If possible, get out of bed toward non-operated side so that the operated leg is supported as much as possible.

From Sitting on the Side of the Bed to Standing with the Walker:
• Straighten the operated leg in front of you before standing.
• Ensure you have good sitting balance with the walker close in front of you.
• Push up from the bed with both hands and keep weight on the non-operative leg.

From Standing to Getting Into Bed:
• Sit down on the edge of the bed; place at least one hand on the bed as you lower yourself. Remember to keep the operated leg further ahead to avoid straining it.
• Enter your bed leading with the operated side if possible.
• Bring your legs onto the bed while lowering your upper body with your hands then elbows.

BATHING/SHOWERING:
You may shower in a bathtub or shower stall only after your doctor has given their permission.

Getting Into the Tub to Take a Shower:
• Have the tub bench or tub chair placed in the direction facing your shower faucets.
• Using your walker, back up to the bench.
• Reach back with one hand to the bench and sit down with your legs outside of the tub.
• Place one leg at a time into the tub.

Getting Out of the Tub:
• While seated on the tub bench/chair turn your body and place your legs one at a time outside of the tub.
• Push up from the tub bench and stand using both hands on the walker.

knee brace

TOILET TRANSFERS:
When recovering from knee surgery the low surface may cause excessive painful bending at the knee. If this is the case, your therapist may help you with getting a raised toilet seat or a three-in-one commode that can be used over your toilet.

Getting Up and Down From a Toilet:
• Back up to the toilet.
• Reach back for the armrests/raised toilet seat/seat.
• Slide your operated leg slightly forward and lower yourself slowly onto the toilet.
• To stand, use a grab bar or place your hand at the middle of the center bar of the walker.
• Stand up and get your balance before placing both hands on the walker.

DRESSING:
• Put on your top or shirt as you normally would while seated.
• Do not twist the knee too much when dressing or putting on shoes.
• Your therapist may recommend a sock aid, dressing stick, reacher or long-handled shoe horn to help with dressing.

STAIRS:
You should only try to go up or down stairs when your doctor or therapist says it is okay. Do not try to use stairs while using a walker.
• When going up the steps, first step up with your non-operative leg, followed by the operative leg.
• When going down steps, first step down with your operative leg, followed by the non-operative leg.
• Complete only one step at a time and always have help.

CAR TRANSFERS:

While you are recovering from knee surgery you will need someone to help you with getting in and out of the car for both your safety and comfort. The seat would ideally be at the height of your mid thigh. Avoid cars with low or bucket seats.
• Have someone slide the seat back as far as possible prior to entering the car, preferably on the front passenger side.
• Slightly recline the seat back if possible.

PT News

This Month in PT News. Featuring articles from PTandMe partnering clinics!

old man tennis

1. Tennis and Golf: Keep Swinging as You Age
Written by the Therapy Team at the Jackson Clinics Physical Therapy – Middleburg, VA

It’s a hard fact to swallow: Age eventually catches up with all of us, no matter how active we may be. Unless we work to maintain strength and flexibility, we slowly lose both as we age. Read more

track girl

2. Bridging the Gap
Written by Jess VandenBerg MS, AT, ATC, CSCS at the Center for Physical Rehabilitation – Grand Rapids, MI

If you have ever rehabilitated an athletic injury, you know there is a big difference between completing your rehab, and returning to competition. You are pain free, have full range of motion, and are completely functional, but are you prepared for the true demands of your sport, both mentally and physically? Read more

spine

3. Is There an Association Between Radiological Severity of Lumbar Spinal Stenosis and Disability, Pain, or Surgical Outcome?
Written by the Therapy Team at Oregon Spine and Physical Therapy – Eugene, OR

Last week I wrote a blog about a new research article about the shoulder and MRI. It helps us better understand the role of an MRI when trying to figure out the best plan to deal with a painful or injured body part. The old belief that an MRI is the “gold standard” is rapidly dying when it comes to understanding what to do with muscle and joint pain. Read more